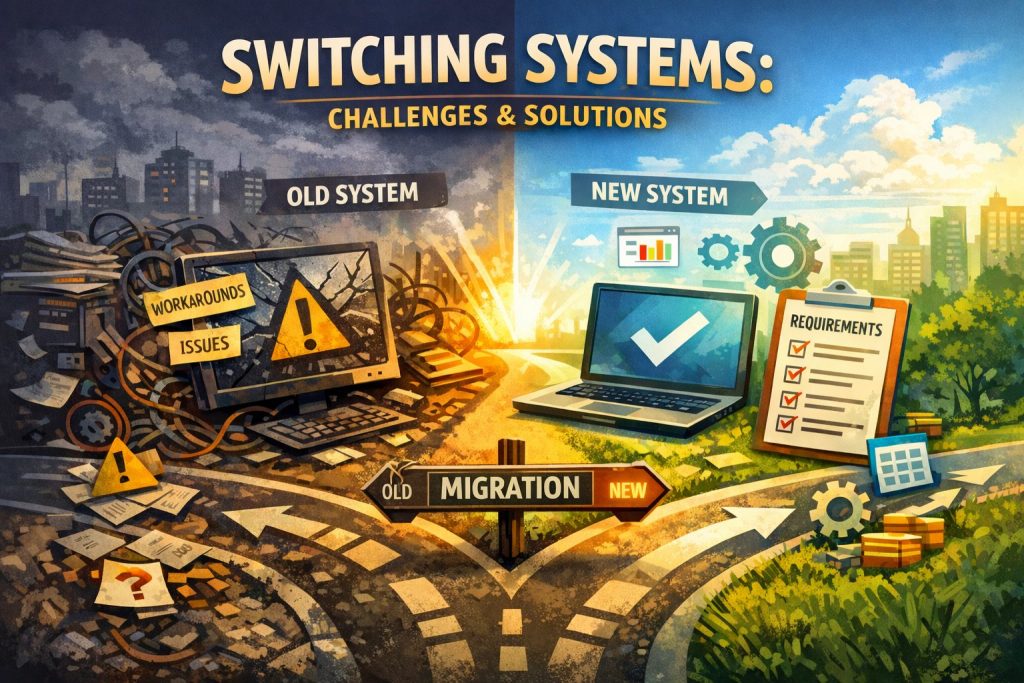
I didn’t fully appreciate how many “small details” can turn into big operational problems until we migrated from one system to another.
When organizations start shopping for a new application, it’s easy to get swept up in the excitement of demos. Everything looks polished. Every platform seems to promise efficiency, better reporting, and a smoother experience. But over time I’ve learned that picking the right system has less to do with flashy features and more to do with discipline: knowing what you truly need, understanding what you can compromise on, and refusing to confuse “nice-to-have” with “must-have.”
The first step isn’t comparing vendors—it’s looking inward. Before considering a move, the organization has to clearly list what’s wrong with the current system and decide what is actually business-critical versus what is just annoying. That matters, because migrating is expensive. Licensing is only one part of the cost. You pay for implementation, training, staff time, productivity loss, and the hidden labor that shows up when people create workarounds. If you don’t define your reasons up front, you’re not selecting a solution—you’re just switching problems.
Once you have the real needs documented, demos become more meaningful. Instead of letting vendors guide the conversation toward shiny extras, you drive the demo toward your workflows. You test the things that matter most: the core functions your teams depend on every day, the scenarios that cause pain today, and the edge cases that will quietly break things later if no one looks closely.
That’s where one of our real lessons came in.
During our transition from UKG Ready to Paylocity, we ran into an unexpected challenge around holiday handling. On the surface it sounds simple: a holiday is a holiday. But in practice, the difference between “holiday time off” and “holiday worked” matters—especially in environments with varied staffing patterns. UKG handled that distinction more clearly, while Paylocity approached holidays more simply. The result wasn’t just a preference issue; it became a workflow issue. And the honest truth is this: if we had specifically tested that scenario during evaluation, it wouldn’t have been a surprise after go-live.
That’s why I believe the most important part of application selection is this: involve all departments early, not just the one pushing for the change. Many systems are multi-department by nature, and decisions shouldn’t be made in silos. Each department understands its own workflow best, and those workflows often connect in ways people don’t notice until something breaks.
A good example is scheduling inside a timekeeping system. Some people view scheduling as a minor module—something “nice” to have. But scheduling affects staffing coverage, reveals hiring needs, exposes gaps, and shapes daily operations. What looks like a small feature in a demo can directly impact labor planning and service continuity. When an application is selected without understanding those dependencies, the system may work for one team while creating friction for another.
In that process, IT plays a role that goes far beyond security—even though security is non-negotiable. Yes, IT has to evaluate user management, roles and permissions, data protection, compliance requirements like HIPAA, and vendor assurances such as SOC reports. But IT also has to act as the connective tissue across the organization. Departments often evaluate tools based on their own isolated use cases. IT helps ensure the platform supports end-to-end workflows across departments and that the organization isn’t accidentally adopting a system that only works when everyone stays in their own lane.
The other lesson that becomes clearer with every major change is that planning isn’t optional. You need enough time to document issues, define requirements, shortlist vendors, run demos that reflect real workflows, and confirm the new system solves actual problems without breaking core functions. And you need time not just to select, but to implement properly—because implementation is where most “good decisions” either succeed or collapse.
Even outside of migrations, workflow documentation is underrated. Every department should document how work gets done—not only for continuity when staff changes, but because those documents become the foundation for evaluating any new system. And from an IT governance standpoint, it helps to maintain an application inventory: what systems you have, who depends on them, and when they reach end-of-sale, end-of-service, or end-of-life. That kind of visibility prevents rushed decisions and last-minute disruptions.
In the end, successful application migration isn’t really a technology project. It’s an organizational discipline. It’s planning, documentation, collaboration, compliance awareness, and strong governance—designed to protect continuity while the tools change around you.
Because the truth is: switching systems is not easy. Switching systems well is the real work.
