After learning how to use a 16 x 2 LCD Display with Arduino to show data, I was inspired to create a digital clock using use a 16 x 2 LCD Display to display date and time. However, I discovered that Arduino lacks a built-in clock. To address this, I learned that an RTC (Real-Time Clock) is necessary to work with date and time information.
Read more: Arduino and the RTC (Real Time Clock)On this project, I used a DS3231 Real Time Clock Module.
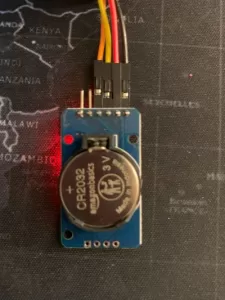
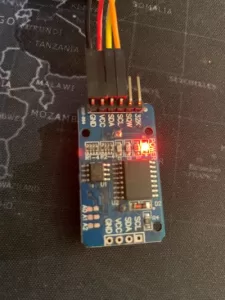
On the DS3231 Real Time Clock Module, I connected the red cable to VCC, then connected the black cable to the ground pin. I connected the orange cable to SCL pin, then connected the yellow cable to SDA pin.
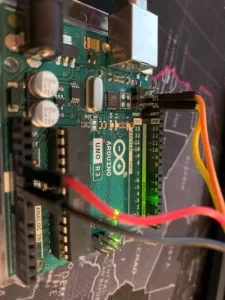

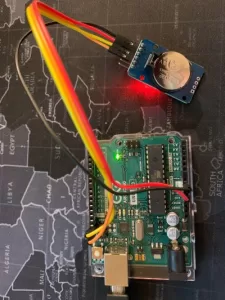
This is how it looks how I connected the DS3231 Real Time Clock Module to Arduino Uno.
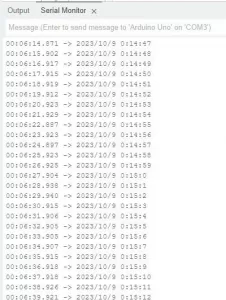
This is what the serial monitor will look like after the sketch is uploaded to the Arduino Uno.
Connect your Arduino to your computer and upload the sketch. Below is the sketch to upload to your Arduino.
#include <Wire.h>
#include <DS3231.h>

DS3231 Clock;
RTClib RTC;

void setup() {
  // put your setup code here, to run once:
  Wire.begin();
  Serial.begin(9600);

  Clock.setYear(23);
  Clock.setMonth(10);
  Clock.setDate(9);
  Clock.setDoW(1);
  Clock.setHour(0);
  Clock.setMinute(10);
  Clock.setSecond(50);
  Clock.setClockMode(0);
  }

void loop() {
  // put your main code here, to run repeatedly:
  DateTime Time = RTC.now();

  Serial.print(Time.year(), DEC);
  Serial.print("/");
  Serial.print(Time.month(), DEC);
  Serial.print("/");
  Serial.print(Time.day(), DEC);
  Serial.print(" ");
  Serial.print(Time.hour(), DEC);
  Serial.print(":");
  Serial.print(Time.minute(), DEC);
  Serial.print(":");
  Serial.print(Time.second(), DEC);
  Serial.println();

  delay(1000);
}
List of Materials
- Arduino Uno R3
- DS3231 AT24C32 Real Time Clock Module
- Male-to-female breadboard jumper ribbon cables
References
Notes